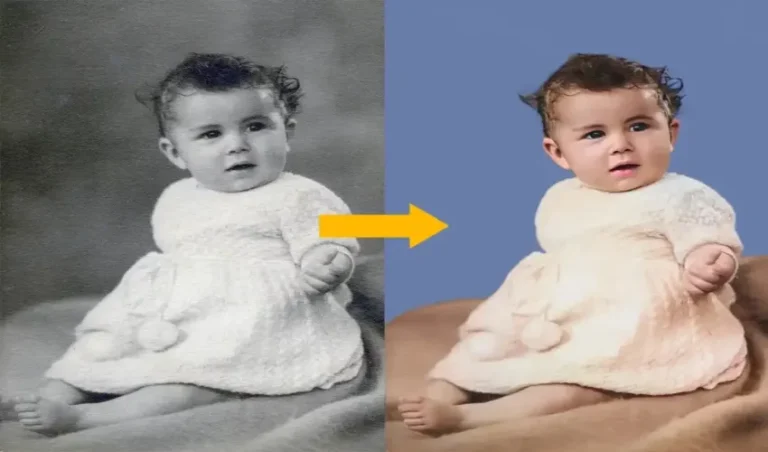
Old photographs carry memories that are priceless, but over time, they often fade, tear, or get damaged. Thanks to artificial intelligence, restoring photos has become easier and more precise than ever before. Whether you are reviving a family heirloom, fixing a cherished portrait, or repairing historical images, AI-powered tools can bring those photos back to life. In this article, we’ll cover six essential steps to perfectly restore photos with AI so you can preserve your memories for generations to come.
Step 1: Choose the Right AI Photo Restoration Tool
The first step is selecting a reliable restore old photos with ai tool designed for photo repair. Today, there are many platforms available that specialize in restoring old, blurry, or damaged photos. Look for tools that offer features such as:
- Scratch and crease removal
- Colorization of black-and-white photos
- Enhancement of facial details
- Background repair
Some popular AI restoration apps include Remini, VanceAI, and Photoshop’s Neural Filters. Make sure to read reviews and test free versions before committing to a tool.
Step 2: Scan or Upload Your Photo in High Quality
Before restoration begins, you need a digital copy of your damaged photo. If you have a physical photograph, scan it at the highest resolution possible—ideally 600 dpi or more. A high-resolution scan allows the AI system to capture more details, which improves the accuracy of restoration. If the photo is already digital, ensure you upload the original file without compression to maintain quality.
Step 3: Remove Scratches, Stains, and Tears
Once your photo is uploaded, the AI tool will analyze the image and automatically repair visible damages such as scratches, stains, and torn edges. Many platforms allow you to manually adjust specific areas if the automatic repair doesn’t fully cover them. For best results:
- Zoom in on damaged parts of the image.
- Use the manual “healing” or “retouch” brush for fine details.
- Save multiple versions of your restored photo for comparison.
Step 4: Enhance Details and Sharpness
Old photos often look blurry due to fading or poor camera technology at the time. AI photo enhancers use deep learning to sharpen edges, improve textures, and restore facial details. This step is crucial for portraits, as it helps bring out eyes, smiles, and expressions. Many AI systems also offer a “super-resolution” feature, which enlarges small or low-quality photos without losing clarity.
Step 5: Restore or Add Color
One of the most exciting features of AI restoration is colorization. If your original photo is black and white, AI tools can automatically add realistic colors based on historical references and deep-learning models. For already-colored photos that have faded, ai restore old photos can adjust tones, brightness, and contrast to make them look fresh again. To perfect the result:
- Manually tweak skin tones if they appear unnatural.
- Adjust saturation and brightness to match the original look.
- Compare before-and-after results to ensure balance.
Step 6: Save, Share, and Preserve
After completing the restoration process, save your photo in a high-resolution format such as TIFF or PNG to avoid compression loss. You can then print the photo, create a digital archive, or share it online with family and friends. To ensure long-term preservation:
- Store digital copies on cloud storage or external drives.
- Print backups using archival-quality photo paper.
- Keep both the original and restored versions for historical reference.
Final Thoughts
Restoring old photographs no longer requires hours of manual editing. With AI-powered tools, anyone can breathe new life into damaged, faded, or blurry photos in just a few steps. By following these six steps to perfectly restore photos with AI, you can preserve your most cherished memories and keep them alive for future generations.
